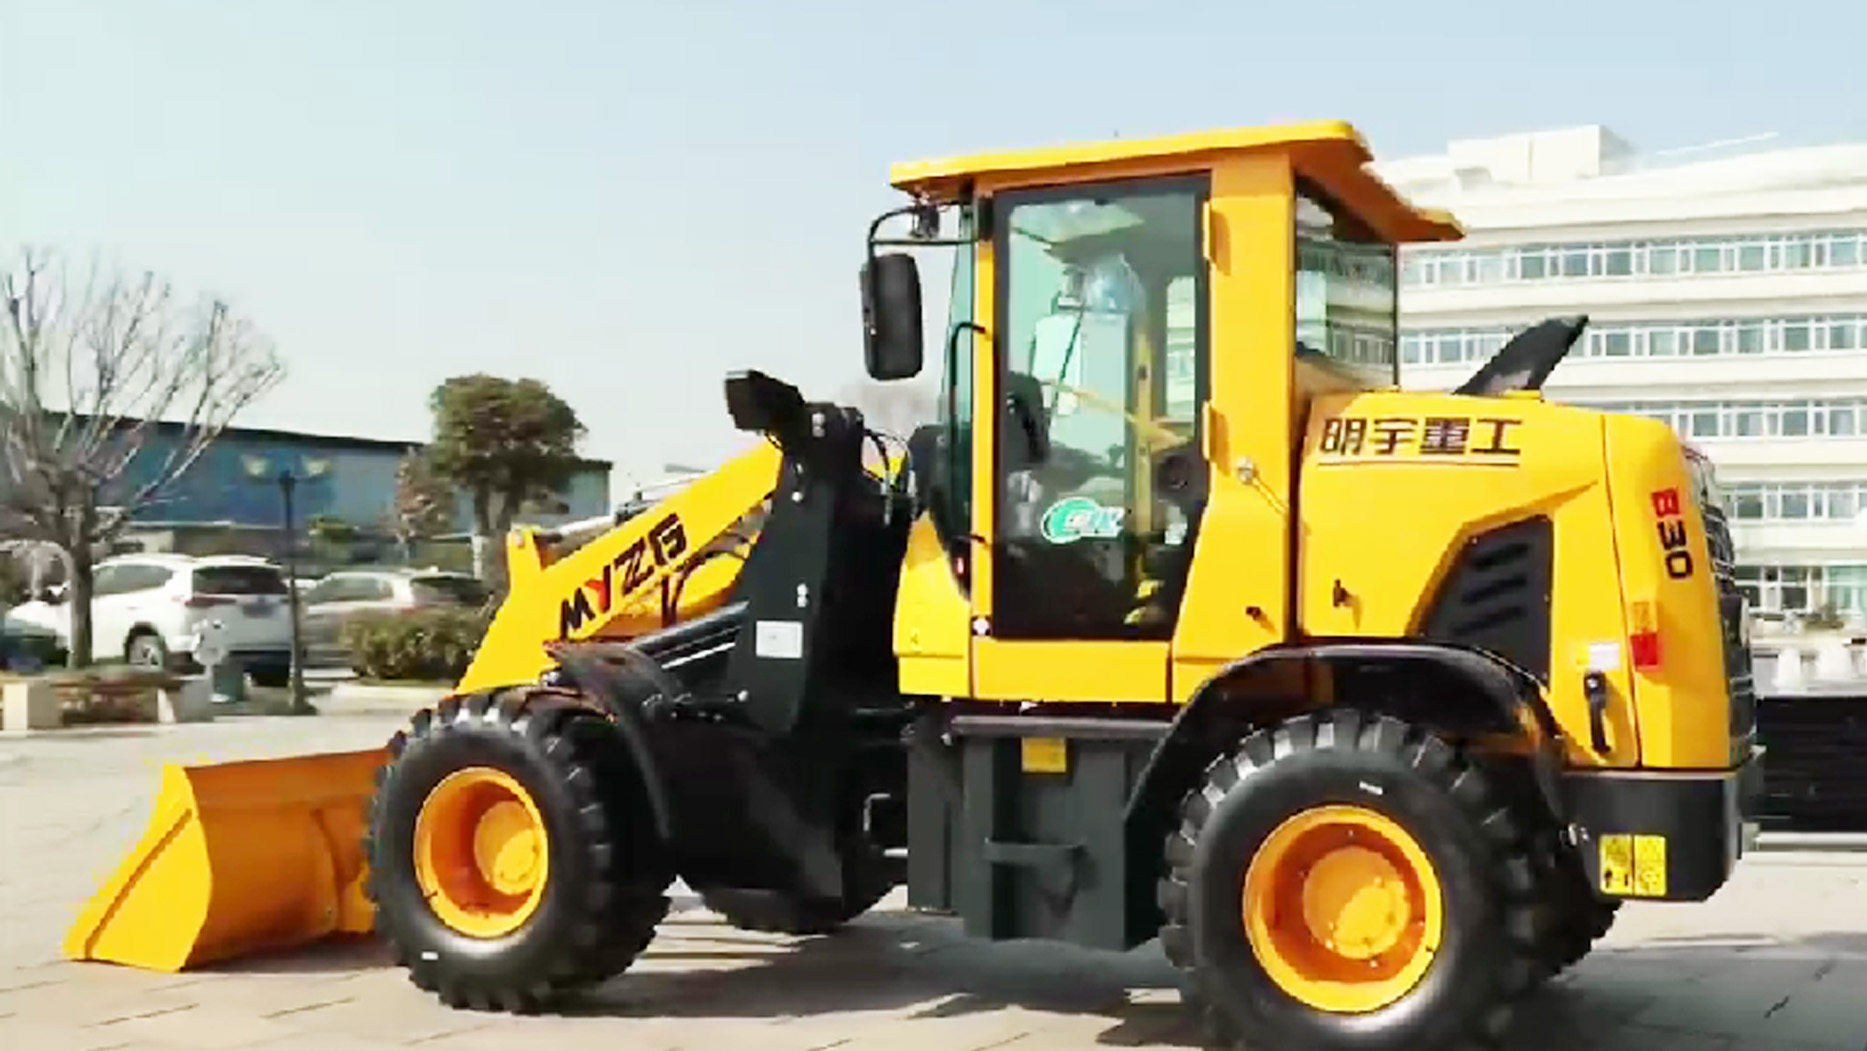
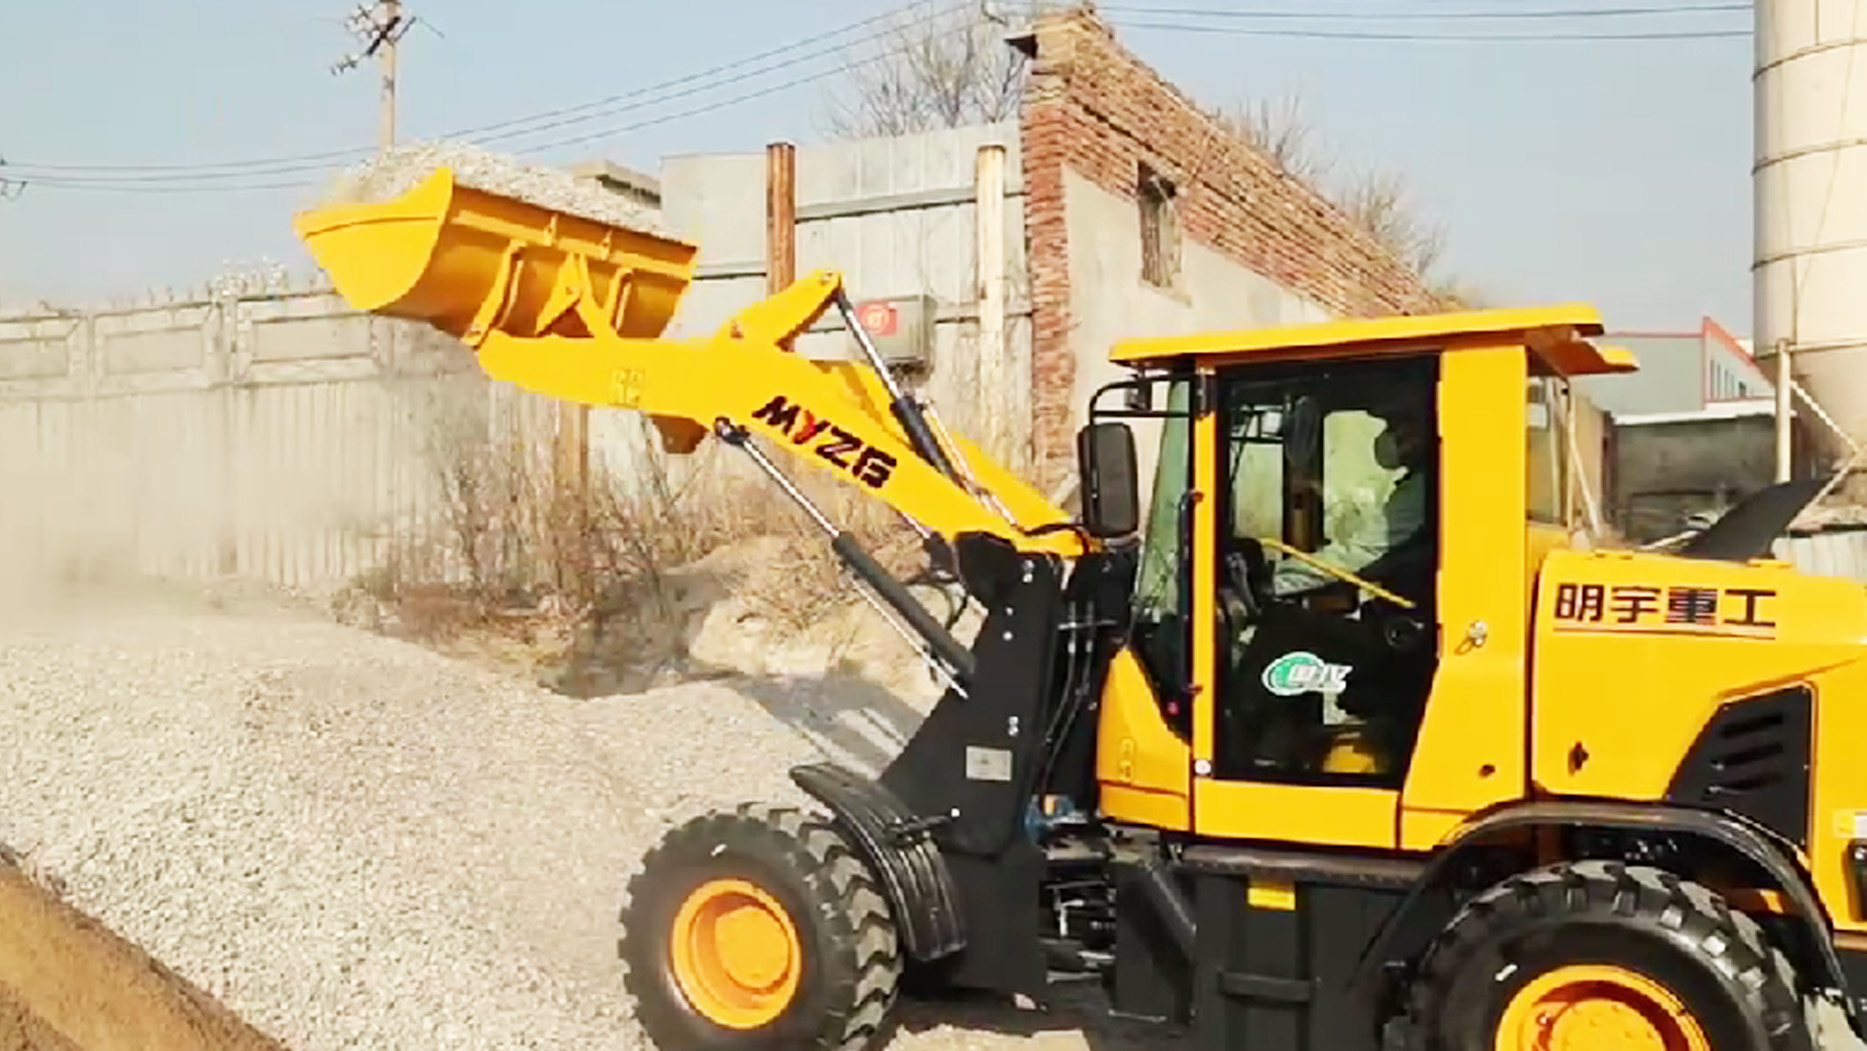
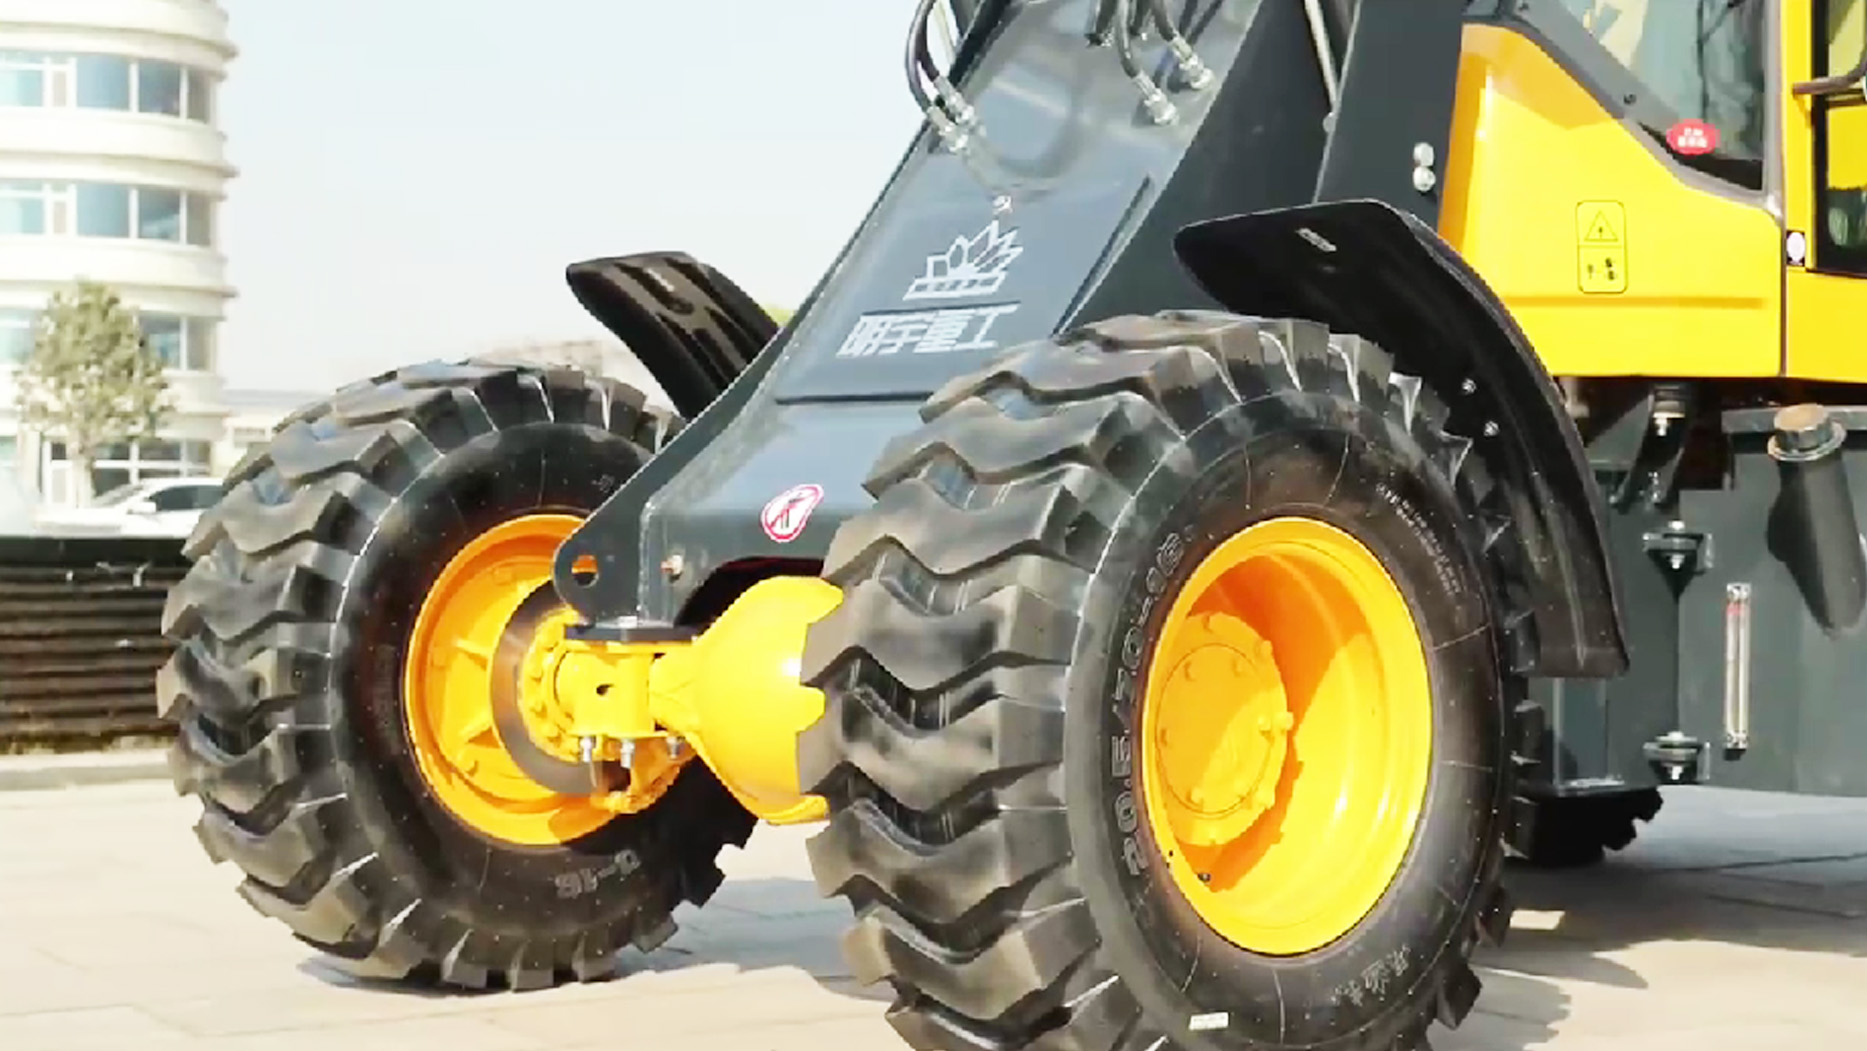
So, how do you maintain a wheel loader to ensure it operates at peak performance, day in and day out? It involves a systematic approach combining daily checks, scheduled preventive maintenance, and vigilant attention to detail. This comprehensive guide will walk you through the essential steps and best practices for effective wheel loader maintenance, helping you protect your investment and keep your operations running smoothly.
The Foundation: Manufacturer's Manual and Operator Training
Before diving into specific tasks, two foundational elements are crucial:
Read the Operator's Manual: This cannot be stressed enough. Every wheel loader model has unique specifications, service intervals, fluid types, and lubrication points. The manufacturer's manual is your definitive guide to proper maintenance for your specific machine. It contains detailed schedules, troubleshooting tips, and safety warnings.
Prioritize Operator Training: A well-trained operator is your first line of defense against premature wear and avoidable issues. Operators should be taught not only how to efficiently run the machine but also how to conduct daily pre-operation checks, identify early signs of problems (unusual noises, leaks, warning lights), and operate the loader in a manner that minimizes unnecessary stress and wear (e.g., avoiding tire spinning, overloading, or aggressive turning).
Daily / Pre-Operation Checks: Your First Line of Defense
Before every shift, or at least daily, a thorough walkaround inspection is non-negotiable. This quick yet critical routine can spot small issues before they escalate into major problems.
Fluid Levels:
Engine Oil: Check with the dipstick, ensuring it's within the recommended range. Look for discoloration or contaminants.
Hydraulic Oil: Check the level via the sight glass or dipstick. Ensure it's clean and at the correct level for optimal system performance.
Coolant: Verify coolant levels in the reservoir. Look for leaks and ensure proper antifreeze mix, especially in cold weather.
Transmission Fluid: Check level and condition (often with the engine running and warm, refer to manual).
Brake Fluid: Check reservoir level.
Fuel: Ensure adequate fuel for the shift and drain water/sediment from the fuel-water separator if applicable.

Tires:
Pressure: Check tire pressure using a reliable gauge. Improper inflation (too high or too low) leads to accelerated wear, reduced stability, and decreased fuel efficiency.
Condition: Inspect for cuts, bulges, punctures, uneven wear patterns, and embedded debris. Remove any foreign objects.
Lug Nuts: Ensure all lug nuts are present and properly torqued.
General Machine Condition:
Leaks: Look for any signs of oil, fuel, hydraulic fluid, or coolant leaks under and around the machine. Even small drips can indicate a developing problem.
Hoses and Belts: Inspect all hydraulic hoses for cracks, fraying, bulges, and proper routing. Check engine belts for tension, cracks, and wear.
Linkages & Pins: Visually inspect all loader linkage, boom, and bucket pivot points for excessive play, cracks, or damage. Ensure pins are secure.
Attachments: Check the bucket or other attachments for cracks, excessive wear on cutting edges or teeth, and secure mounting.
Electrical System: Test all lights (headlights, tail lights, work lights, hazard lights, turn signals), horn, and backup alarm. Check battery terminals for corrosion and ensure connections are tight.
Operator's Cab: Ensure the cab is clean, controls are functioning smoothly, mirrors are adjusted, and the seatbelt is in good condition. Check gauges and warning lights upon startup.
Articulation Joint: On articulated loaders, check the articulation joint for excessive play or leaks.
Grease Points (Visual): While not a daily greasing, visually check that grease fittings are clear and that no excessive grease has accumulated around seals.
Scheduled Preventive Maintenance: Following the Service Intervals
Beyond daily checks, wheel loaders require periodic, more in-depth maintenance at specific operating hour intervals (e.g., 50, 100, 250, 500, 1000, 2000 hours). Always refer to your manufacturer's manual for precise schedules and recommended tasks, as these can vary by model.
Every 50-100 Hours (Weekly/Bi-weekly Focus):
Lubrication (Greasing): This is CRITICAL. Grease all pivot points, pins, and bushings on the loader arms, bucket linkage, articulation points, and steering cylinders. Proper lubrication reduces friction, prevents premature wear, and keeps contaminants out. Over- or under-greasing can be detrimental.
Air Filters: Check engine air filter restriction indicator. Clean or replace pre-cleaner elements if equipped. A dirty air filter reduces engine performance and fuel efficiency.
Draining Water from Fuel System: If your loader has a fuel-water separator, drain any accumulated water.
Brakes: Check the function of both service and parking brakes.
Electrical Connections: Inspect all electrical connections for tightness and corrosion.
Radiator/Cooling System: Visually inspect the radiator and oil coolers for debris buildup. Clean cooling fins if necessary to prevent overheating.
 Every 250-500 Hours (Monthly/Quarterly Focus):
Fluid and Filter Changes: This typically includes:
Engine Oil & Filter: Replace engine oil and oil filter.
Fuel Filters: Replace primary and secondary fuel filters.
Hydraulic Filter: Replace hydraulic return filter.
Transmission Filter: Replace transmission oil filter.
Axle Oil Levels: Check front and rear axle oil levels.
Driveline & Universal Joints: Inspect driveline components for wear and ensure proper lubrication of universal joints.
Battery Inspection: Check battery fluid levels (if applicable), clean terminals, and test battery charge.
Belt Tension & Condition: Re-check tension on all engine belts and inspect for cracks or fraying.
Engine Air Filter (Main): Inspect the main engine air filter element. Replace if dirty or damaged.
Breather Caps: Clean or replace hydraulic and transmission breather caps to ensure proper ventilation and prevent contamination.
Every 1000-2000 Hours (Semi-Annual/Annual Focus):
Major Fluid Changes:
Hydraulic System Oil: Drain and replace all hydraulic oil (a significant volume).
Transmission Oil: Drain and replace transmission oil.
Axle Oils: Drain and replace front and rear axle oils.
Coolant Flush: Flush and refill the cooling system, replacing coolant with the manufacturer-recommended type and mixture.
Valve Clearances: Check and adjust engine valve clearances as per manufacturer's specifications.
Injector Timing: Inspect and adjust fuel injector timing if required.
Electrical System Thorough Check: Inspect wiring harnesses for wear or damage. Check all sensors and senders.
Brake System Overhaul: Inspect brake pads/linings for wear, check brake lines, and consider brake fluid replacement.
Articulation Joint Inspection: More thorough inspection of articulation pins and bushings, potentially requiring specialized tools for wear assessment.
AC System Check: If equipped, check refrigerant charge, compressor belt tension, and cleanliness of condenser coils.
Beyond the Schedule: Proactive and Reactive Maintenance
Fluid Analysis (Oil Analysis): For critical components like the engine, hydraulic system, and transmission, regular oil analysis can provide invaluable insights into the internal health of the machine. It can detect wear metals, contaminants (water, dirt, fuel), and oil degradation, allowing for predictive maintenance and preventing major failures.
Keep it Clean: Regular cleaning of the entire machine, especially around hydraulic components, radiators, and engine compartments, prevents dirt and debris buildup that can cause overheating, obscure leaks, and accelerate wear. Pressure washing can be effective, but avoid directly spraying electrical components or seals.
 Proper Storage: When a wheel loader is not in use for extended periods, store it on a level surface with the parking brake engaged. For long-term storage, follow manufacturer guidelines for fluid drainage, battery disconnection, and covering exposed parts to protect against elements.
Use Genuine Parts & Recommended Fluids: Always use filters, oils, coolants, and other replacement parts that meet or exceed the manufacturer's specifications. Genuine parts are designed to work perfectly with your machine and ensure optimal performance and longevity.
Listen and Observe: Encourage operators to be vigilant. Unusual noises, vibrations, smells (like burning oil), or changes in performance (sluggish hydraulics, engine power loss) should be reported immediately. Early detection can prevent minor issues from becoming catastrophic failures.
Maintain Records: Keep a detailed log of all maintenance performed, including dates, hours, tasks completed, fluids used, and parts replaced. This helps track service history, predict future maintenance needs, and is valuable for resale.
Conclusion: A Commitment to Performance and Safety
Effective wheel loader maintenance is a continuous process, not a one-time event. It's a commitment that pays dividends in the form of extended machine life, maximized uptime, consistent performance, enhanced fuel efficiency, and, most importantly, improved safety for operators and personnel.
By adhering to a disciplined maintenance schedule, utilizing the insights from your operator's manual, and fostering a culture of vigilance and proactive care, you can ensure your wheel loader remains a reliable, high-performing asset for years to come. Don't view maintenance as an expense, but rather as an essential investment in the productivity and profitability of your operations.
Post time:May.28.2025
