
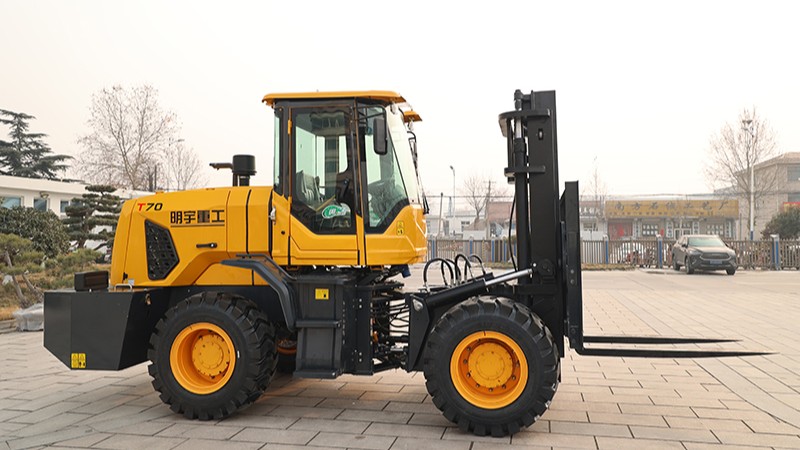
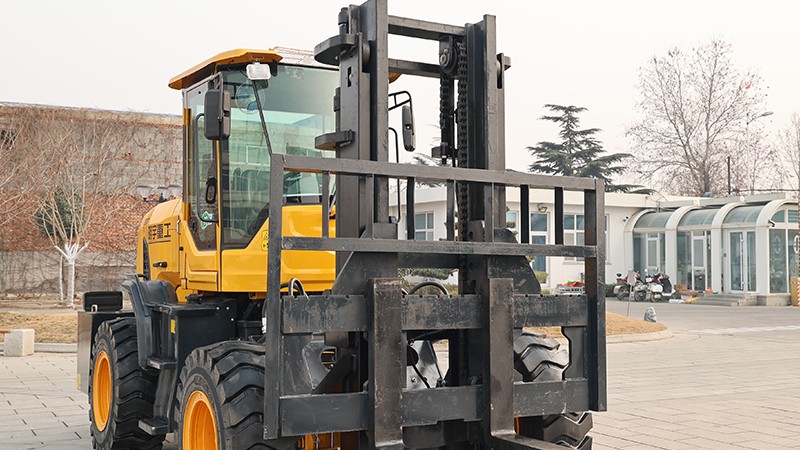
The physical mounting phase requires a stable, level surface and strict adherence to safety protocols. Park the rough-terrain forklift on firm, level ground, engage the parking brake, lower the forks or carriage completely to the ground, shut off the engine, and remove the ignition key. If auxiliary hydraulic pressure could be present, carefully cycle the auxiliary control lever(s) to relieve any residual pressure in the hydraulic lines before disconnecting anything. If replacing an existing attachment, carefully disconnect the hydraulic lines (be prepared for a small amount of oil spillage – have absorbent material ready) and electrical connectors. Secure any dangling hoses. Remove any mounting pins or locking mechanisms holding the current attachment. Maneuver the current attachment away from the telehandler safely. Now, carefully position the rotator grapple in front of the telehandler's carriage. This often requires another lifting device due to the grapple's weight and bulk. Align the grapple’s mounting points precisely with the corresponding hooks or brackets on the telehandler’s carriage. This alignment is crucial. Most modern telehandlers utilize a quick-attach carriage system. If equipped, carefully operate the carriage locking mechanism (usually via levers or hydraulic controls) to engage the grapple's mounting hooks. Listen for the distinct clunk or click indicating positive engagement. If it's a pin-on system, you will need to physically insert large mounting pins through the aligned holes on the carriage and the grapple's mounting ears. Ensure the pins are the correct grade and size as specified by the manufacturers. Once pins are inserted, secure them immediately with the appropriate retaining clips, linch pins, or safety bolts. Never rely on friction alone; positive retention is mandatory. Double-check that the grapple is fully seated and securely locked onto the carriage. Attempt to gently lift the grapple slightly off the ground and visually and physically confirm there is no movement or play between the grapple and the carriage interface. A loose attachment is a major hazard.
Connecting the hydraulic system breathes life into the rotator grapple. This step demands cleanliness and precision to prevent contamination and leaks. Locate the auxiliary hydraulic service ports on your rough-terrain forklift, typically located near the carriage. These consist of pressure (supply) and return (tank) lines, often color-coded or labeled (e.g., A & B, or Pressure/Return). Similarly, identify the corresponding hydraulic inlets on the rotator grapple. Before connecting, meticulously clean the hydraulic coupler tips (both male and female ends) and the surrounding areas. A single grain of sand can wreak havoc on hydraulic systems. Use lint-free rags and approved hydraulic cleaning solvent. Ensure the coupler types match (e.g., flat face to flat face). Connect the grapple's hydraulic hoses to the telehandler's auxiliary couplers. Usually, one hose controls the grapple open/close function, and the other controls the rotation. Match them correctly according to the telehandler's control scheme (which function is lever forward/back). Push the couplers together firmly until they click and lock into place. A positive connection should feel secure. If your grapple requires a third hydraulic function (e.g., for a rotator clamp or multi-jaw movement) or has a hydraulic rotator motor requiring high flow, ensure your telehandler has the necessary third auxiliary circuit or sufficient flow capacity. Connect any electrical cables if the grapple features hydraulic solenoid control valves, rotation sensors, or position indicators. These connectors are usually weatherproof plugs – ensure they are clean, undamaged, and fully seated. Route all hoses and cables carefully away from pinch points, moving parts, sharp edges, or hot surfaces like the exhaust. Use protective sleeves or clamps as needed. Ensure there's sufficient slack for full boom extension, elevation, and grapple rotation without straining the lines.
Before putting the newly equipped rough-terrain forklift to work, a comprehensive functional test and safety inspection are non-negotiable. Reinsert the ignition key and start the engine. Allow the hydraulic system to reach operating temperature. Engage the auxiliary hydraulic control levers slowly and deliberately. First, test the grapple open and close function. Does the grapple open fully and close tightly and smoothly? Listen for any unusual noises like whining or knocking. Next, test the rotation function. Does the grapple rotate smoothly clockwise and counter-clockless through its full range (usually 360 degrees continuous or limited)? Pay close attention to the movement – it should be controlled without jerking or hesitation. Check all hydraulic connections meticulously for any signs of leaks, drips, or seeping fluid. Even a small leak can indicate a problem and lead to failure or environmental contamination. Visually inspect the entire attachment interface again under slight load (lift the grapple slightly). Confirm there is absolutely no movement, shifting, or unusual sounds at the connection points. Verify that all safety pins, clips, and bolts are securely in place. Check that hoses and cables remain clear of all hazards throughout the range of motion. Consult the operator's manual for the grapple to understand any specific operational limitations or procedures, such as maximum rotation speed under load or recommended pressure settings. Ensure all personnel in the vicinity are aware of the testing and stand clear. This testing phase is critical to identify any issues before the grapple is used under full working load.
Post time:Aug.19.2025
